Call or Text
801-438-4793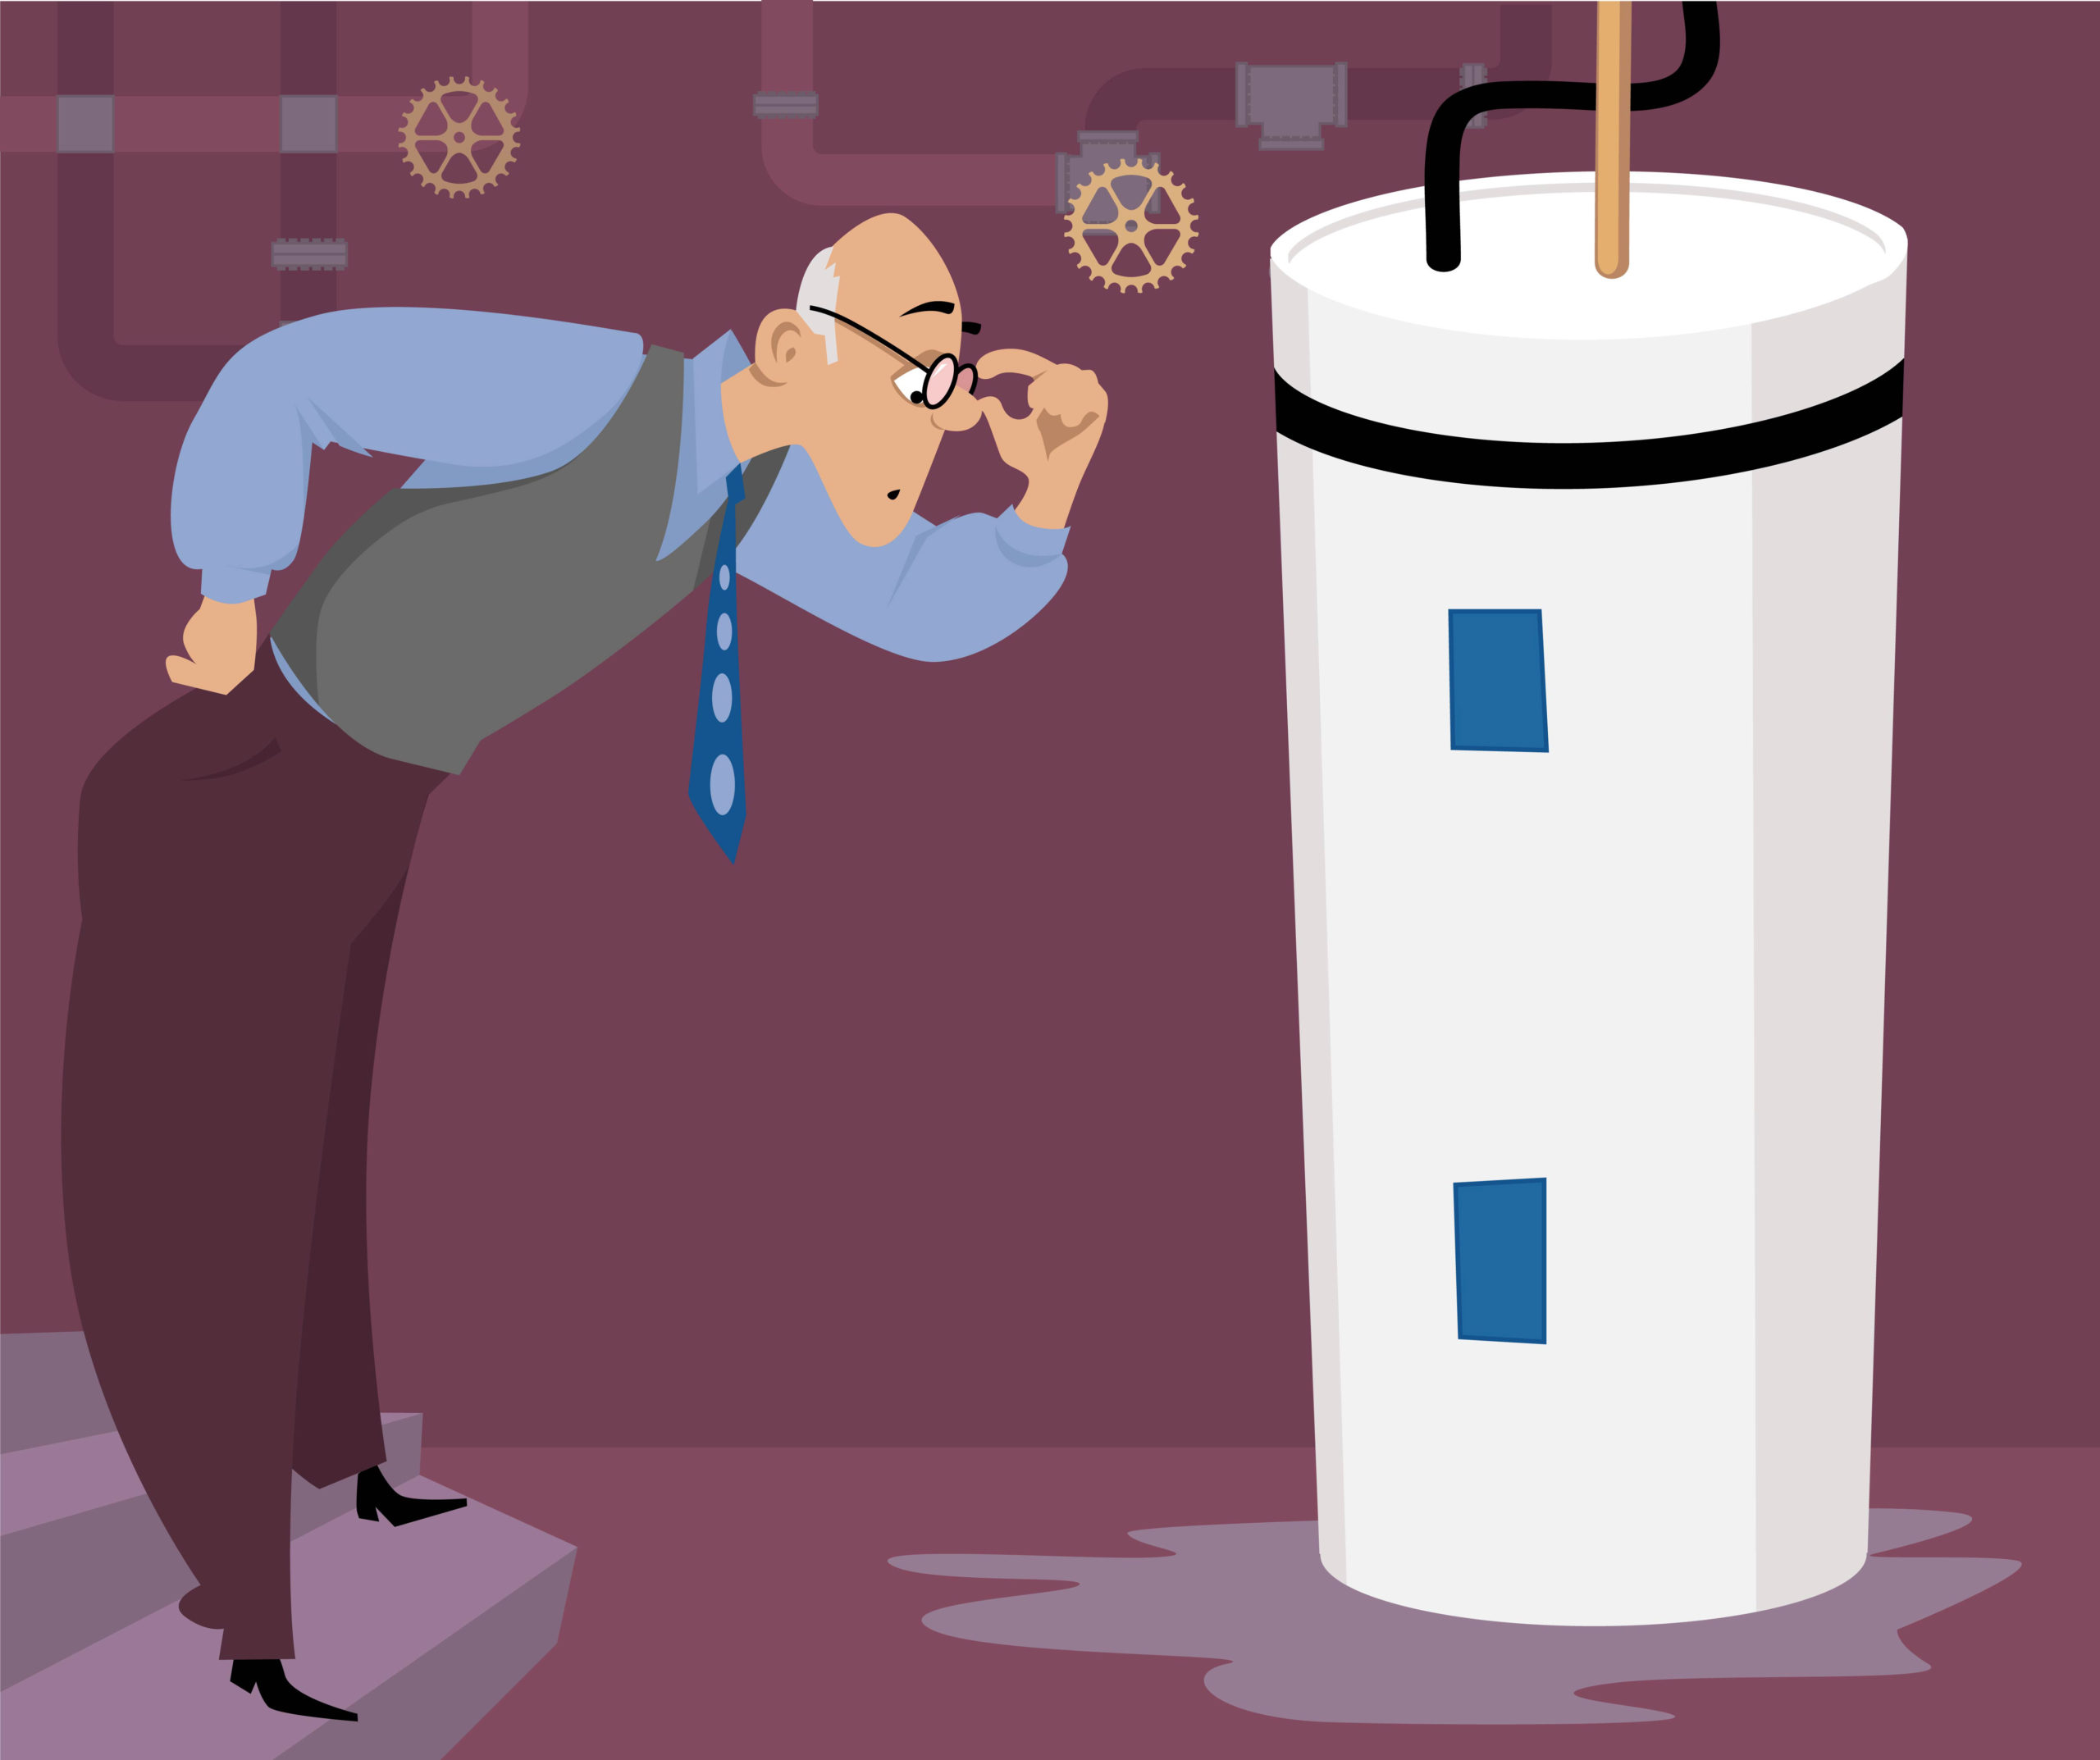
Why Is My Water Heater Leaking?
August 16, 2016
A water heater leak may not seem like a big deal but it can lead to big problems and quickly. Floors, sub-floors and walls can be damaged by a small amount of water from a water heater leak. If your water heater is leaking this may be a sign of larger plumbing issues and should be repaired immediately to avoid property damage. Complete water heater failure can cause your home to flood significantly ruining your personal property and leaving you with hefty repair bills.
Along with expensive repair bills and water damage, leaks can be a health concern. The damp and wet areas that happen as a result of leaks can produce mold and mildew that can cause some people to have allergic reactions and asthma. There are types of mold that are considered to be highly toxic and can result in serious health problems.
Some people believe that water heater leaks will go away over time, but the opposite of that happens. The longer you wait to fix your water heater and treat the damage, the more difficult it becomes. Take these 5 steps to determine if your water heater is causing the leak in your home.
Leak Step 1: Determine if your water heater is to blame.
Not every small puddle of water at the base of your water heater is due to leaking, be sure to properly identify the water source before taking any additional steps.
- Check to make sure the water is not built up condensation from the water heater, pipes, or appliances around them.
- If located in your basement, make sure the water is not due to damp weather outside.
- Check furnace drain lines, water softener discharge lines, and other plumbing for leaks.
- Closely inspect water heater and it’s plumbing fittings for obvious leaks.
- Make sure to look directly above your water heater for any leaks in anything above it, especially water pipes.
After taking the steps listed above, lay down paper towels in the area that was damp and continue to check on it every few hours or so. If you do not notice any water a day or two later you may have nothing to worry about, if you do consider taking the following steps.
Leak Step 2: Turn off the power.
After you determine that your water heater is leaking, the first step you need to take is turning off the water heaters power supply. For electric water heaters, locate your homes breaker box and switch off the power for your water heater. It’s important you take this step before doing any maintenance on your water heater; water and electricity are a dangerous combination. If your home has a natural gas water heater, make sure you set your on/off switch or dial to “off”.
Leak Step 3: Shut off the water supply.
This is another step of the process where caution needs to be taken. Water heaters typically have factory settings to heat water from anywhere in between 125° and 190°, which can inflict a serious burn if contact is made with it. Always take precaution to avoid coming into contact with the heated water. If the water heater leaking is significant and obvious, turn the supply off at the cold water shut-off valve. If the actual leak source is not yet identified, leave the water supply on for the time being, to assist in locating it.
Leak Step 4: Determine the leak location.
There are a number of problems that can cause water heater leaking, so it’s a good idea to perform a quick inspection. A proper diagnosis of the leak before calling a professional will make it easier for them to solve the problem.
- The cold water inlet and the hot water outlet connections: Check the points at which the inlet and the outlet pipes connect to the water heater at the top of the unit. A leak here, if minor, may require no more than the tightening of a loose connection with a pipe wrench and is likely very fixable.
- The temperature and pressure relief valve: Every water heater has a temperature and pressure relief valve located on the side of the tank with a pipe running down to the floor. This valve is a safety device that is in place in the event that the water becomes too hot, or there is too much pressure within the tank. The T/P valve relieves the tank pressure by allowing some of the water out of the tank. Inspect the point at which it enters the tank, on the side of the water heater near the top, to see that it is watertight. Also inspect the valve itself. If this is the source of the leak, then water will be flowing down the plastic pipe attached to it when the valve is in the closed position. This means that either the valve is defective, or it is working properly and there is excess pressure inside the tank which is forcing the T/P valve to open. A leak from this location is usually fixable, but is also cause for concern.
- The heater drain valve: Check the drain valve, located near the bottom of the tank. Make sure that it closes (and is closed) completely. The drain valve’s point of entry into the tank should be watertight. A leak from this location is not a serious problem, and can be fixed.
- The bottom of the hot water tank: Since the tank itself is wrapped inside insulation and is enclosed in an outer skin, any leak in it will not be visible from the outside. If your water heater has an internal leak, water will likely escape from the bottom of the tank. The majority of water heater leaks are from the tank itself, and are usually due to age and deterioration. If this is the case, the only fix is to replace the water heater.
Leak Step 5: Repair or Replace.
As made clear above, water heater leaking can be a serious problem, so it’s important to take action quickly. Depending on the type of leak you have, you will either have to make repairs or replace the heater. In either case it is highly recommended that you call a professional plumber to make sure your water heater can be repaired and if not is replaced in the quickest and most efficient manner. Improper repairs or removal can lead to bigger problems including larger leaks or complete flooding.
Recent News
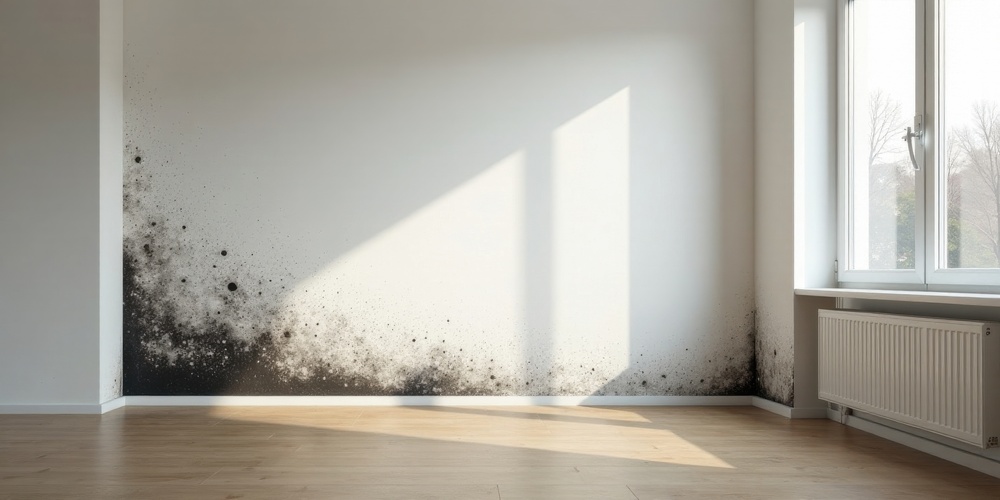
How to Prevent Mold in a Utah Home After Plumbing Repairs
September 11, 2025

A Utah Homeowners’ Guide to Smart Thermostats
September 10, 2025
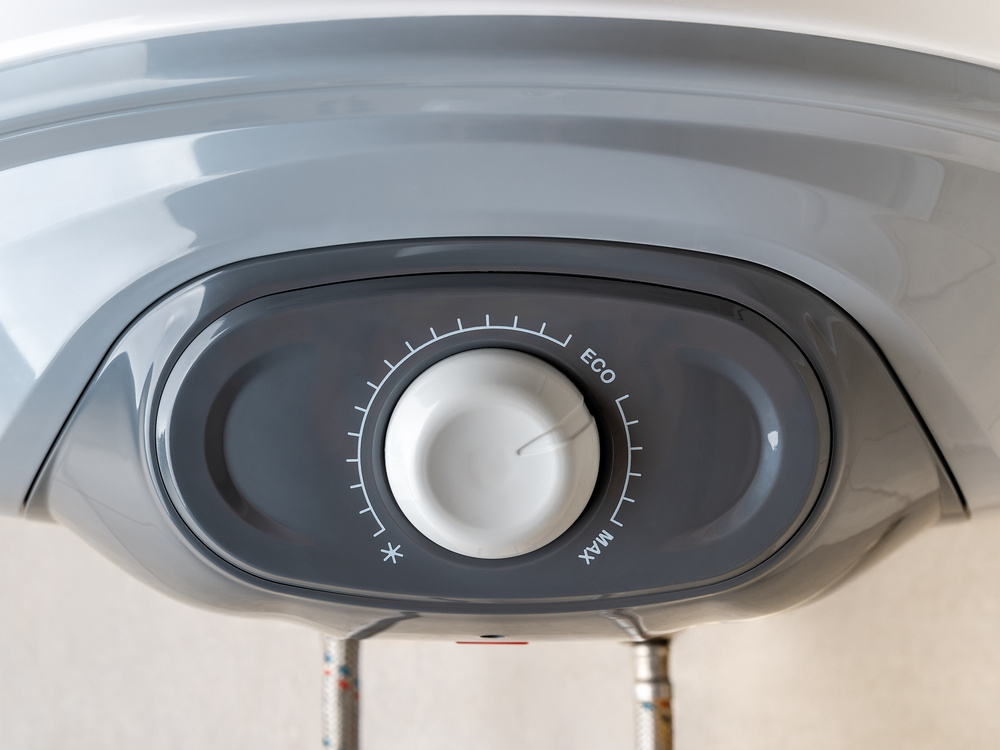
My Water Heater’s ECO Switch Keeps Tripping – What Does It Mean?
August 21, 2025

Calling a Contractor for HVAC Services Shouldn’t Be a Nightmare
August 20, 2025

7 Hidden Fittings That Make Your Plumbing Work
July 21, 2025
Never Underestimate the Value of Your Furnace and AC Filter
June 25, 2025
